Getting Started with Node.js: Installation and Setup Guide
This blog post will teach you how to install and set up Node.js, a popular JavaScript runtime environment that is used to build scalable and efficient web applications.
Node.js is a powerful runtime environment that allows you to run JavaScript on the server-side. It provides an event-driven, non-blocking I/O model, making it a popular choice for building scalable and efficient web applications. If you’re new to Node.js and want to get started, this installation and setup guide will walk you through the process. By the end of this guide, you’ll have Node.js up and running on your machine, ready to embark on your journey of server-side development.
Prerequisites
Before diving into the installation process, make sure you have the following prerequisites in place:
Operating System: Node.js is compatible with Windows, macOS, and Linux. Ensure that you’re using a supported operating system.
Package Manager: Node.js comes with npm (Node Package Manager) by default, which allows you to install and manage external packages. Check if npm is installed on your machine by running npm -v in your command prompt or terminal. If it’s not installed, you can install Node.js, and npm will be included.
Text Editor: Choose a text editor or an integrated development environment (IDE) that you’re comfortable with. Popular options include Visual Studio Code, Sublime Text, and Atom.
Now that you have the prerequisites covered, let’s move on to the installation process.
Installation Steps
Step 1: Download Node.js The first step is to download the Node.js installation package for your operating system. Visit the official Node.js website and navigate to the Downloads section. Node.js offers two release lines: the LTS (Long-Term Support) line and the Current line. For most projects, it’s recommended to choose the LTS version as it provides stability and long-term support.
Click on the LTS version and download the installer appropriate for your operating system. Once the download is complete, run the installer and follow the instructions.
Step 2: Verify the Installation After the installation is complete, you can verify that Node.js is successfully installed by opening a command prompt or terminal and running the following command:
1
2
node -v
npm -v
If the commands run successfully and display the versions without any errors, similar to the example shown in the image below, it indicates that Node.js has been successfully installed on your machine.
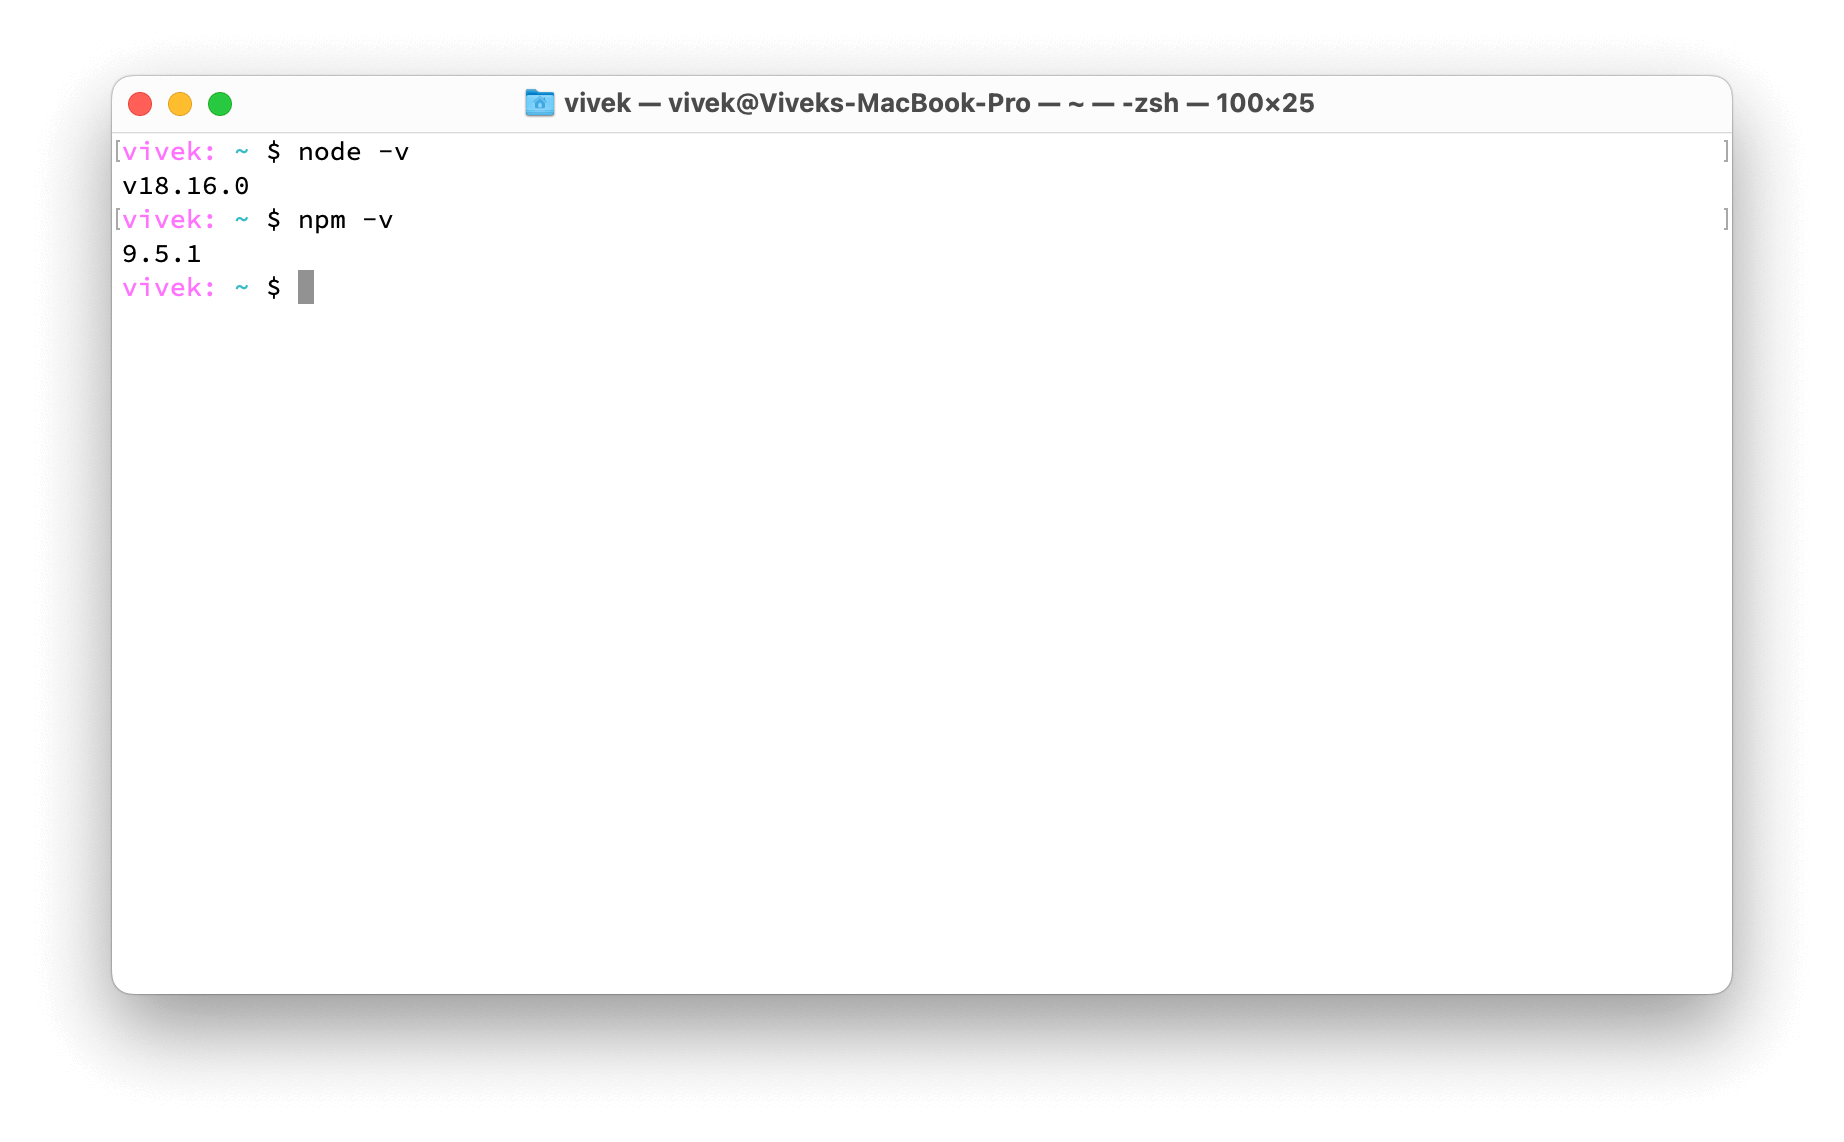 Version Check after installation
Step 3: Test Node.js To ensure that Node.js is functioning correctly, let’s create a simple test script. Create a new file called test.js and open it in your preferred text editor or IDE. Add the following code:
1
console.log("Hello, Node.js!");
Save the file and navigate to its directory using the command prompt or terminal. Run the script by executing the following command:
1
node test.js
If everything is set up correctly, you will see the message “Hello, Node.js!” printed in the console, just like the example shown in the image below. This means that Node.js is working properly on your computer. 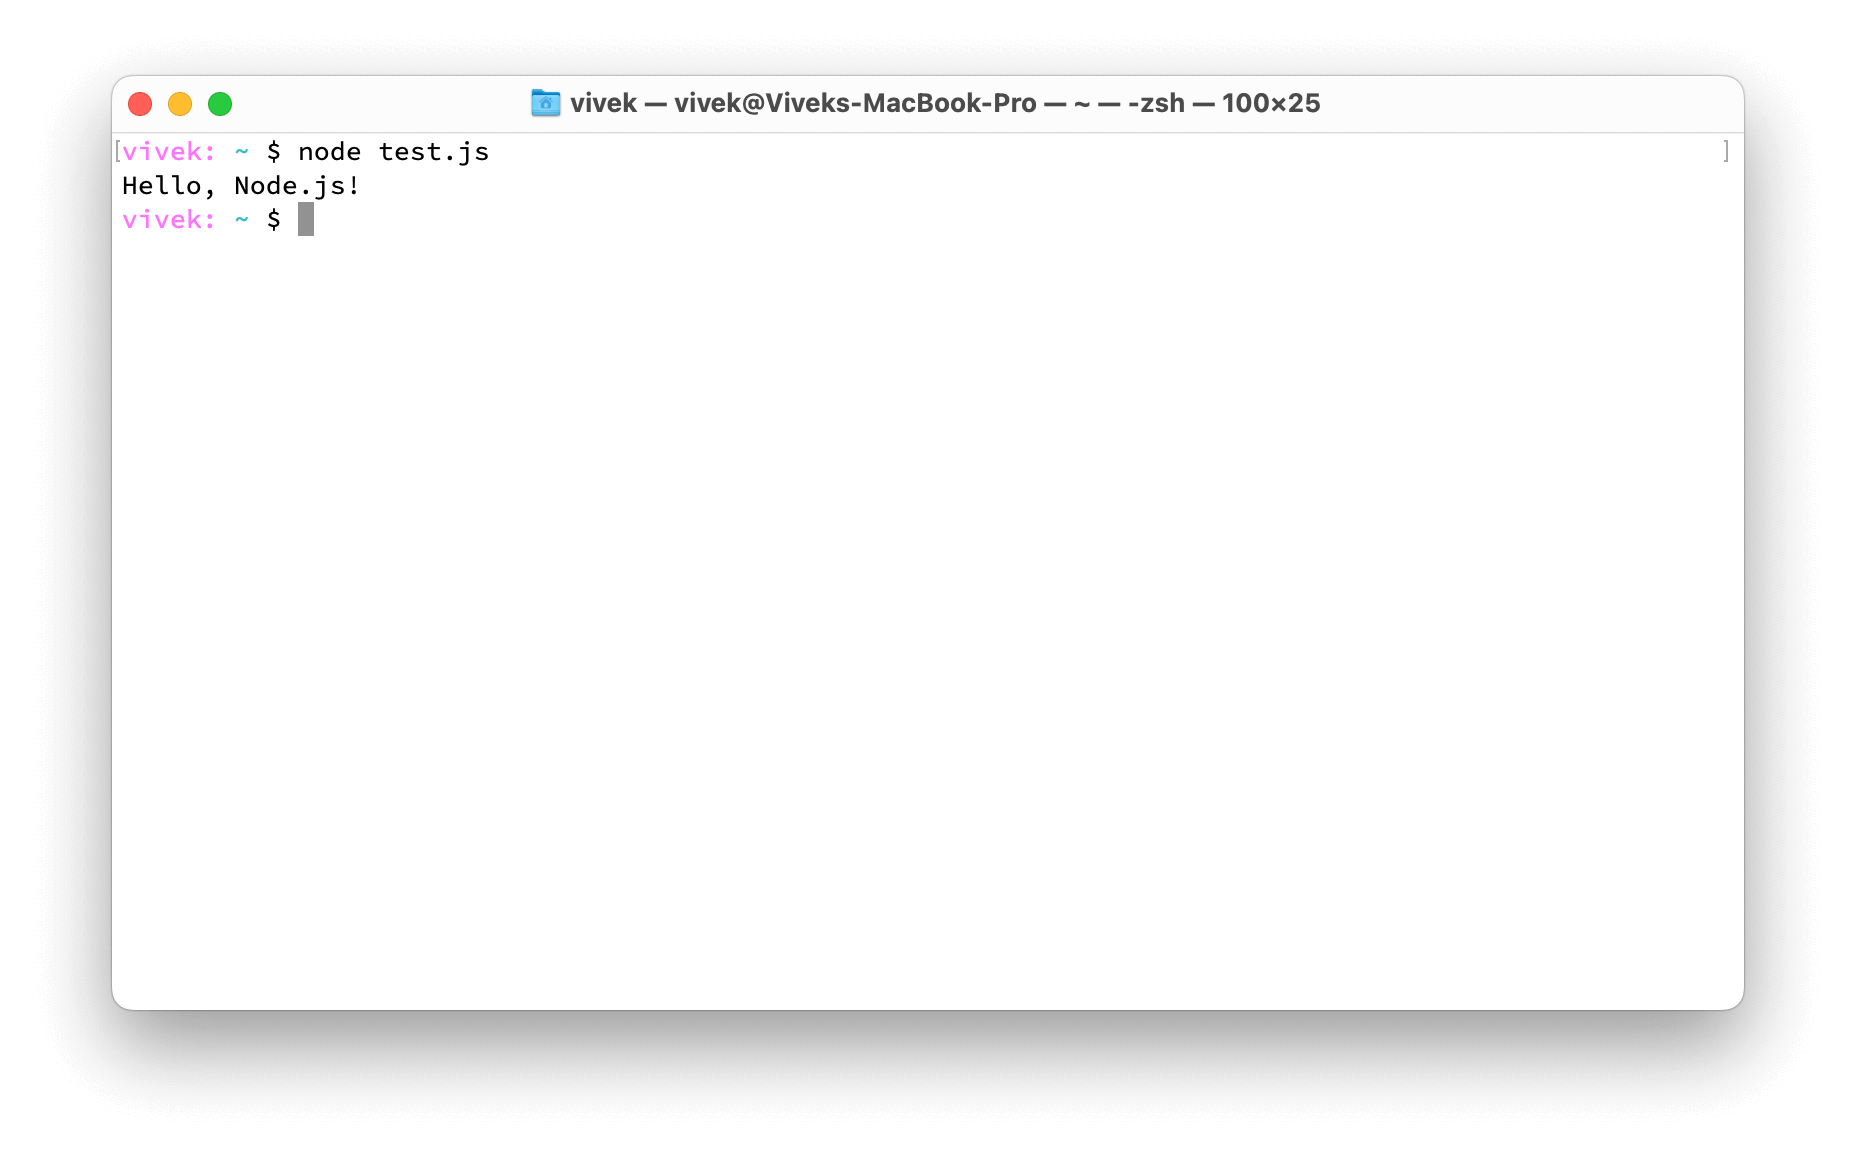 Hello Nodejs
Conclusion
Congratulations! You’ve successfully installed Node.js and verified its functionality. With Node.js set up on your system, you’re now ready to dive into the world of server-side JavaScript development. In upcoming blog posts, we’ll explore more advanced concepts and build exciting applications using Node.js. Stay tuned!
Node.js has a vast ecosystem with numerous libraries and frameworks that can enhance your development experience. Make sure to explore the official Node.js documentation and npm’s website to discover the wealth of resources available.
That’s it for our installation and setup guide for Node.js. Happy coding!