Handling Form Data with Flask
A beginner-friendly guide on handling form data with Flask, including creating HTML forms, retrieving form data in Flask, and validating and processing form data.
In web development, handling form data is a common task. Forms allow users to input data, such as submitting a contact form, creating an account, or posting comments. Flask, a popular Python web framework, provides a simple and efficient way to handle form data. In this tutorial, we will cover the following points:
- Creating an HTML form
- Retrieving form data in Flask
- Validating and processing form data
1. Creating an HTML Form
To start, we need an HTML form where users can input their data. HTML provides various form elements like text fields, checkboxes, radio buttons, dropdown menus, etc., which we can use to create the desired form. Here’s an example of an HTML form:
1
2
3
4
5
6
7
8
9
10
11
12
13
14
15
16
17
<!DOCTYPE html>
<html>
  <head>
    <title>Form Handling with Flask</title>
  </head>
  <body>
    <form method="POST" action="/process-form">
      <label for="name">Name:</label>
      <input type="text" id="name" name="name" required />

      <label for="email">Email:</label>
      <input type="email" id="email" name="email" required />

      <input type="submit" value="Submit" />
    </form>
  </body>
</html>
In the above code snippet, we use the <form> element to define the form. The method attribute specifies the HTTP method to use when submitting the form (e.g., POST). The action attribute defines the URL where the form data will be sent.
Inside the form, we have two input fields: one for the name and another for the email. The type attribute of the input element specifies the type of input (e.g., text, email). The id attribute uniquely identifies each input field, and the name attribute provides a name for the input field.
The required attribute makes the input fields mandatory, ensuring that users cannot submit the form without filling them.
When we start the server and open the form in the browser, it will look like this:
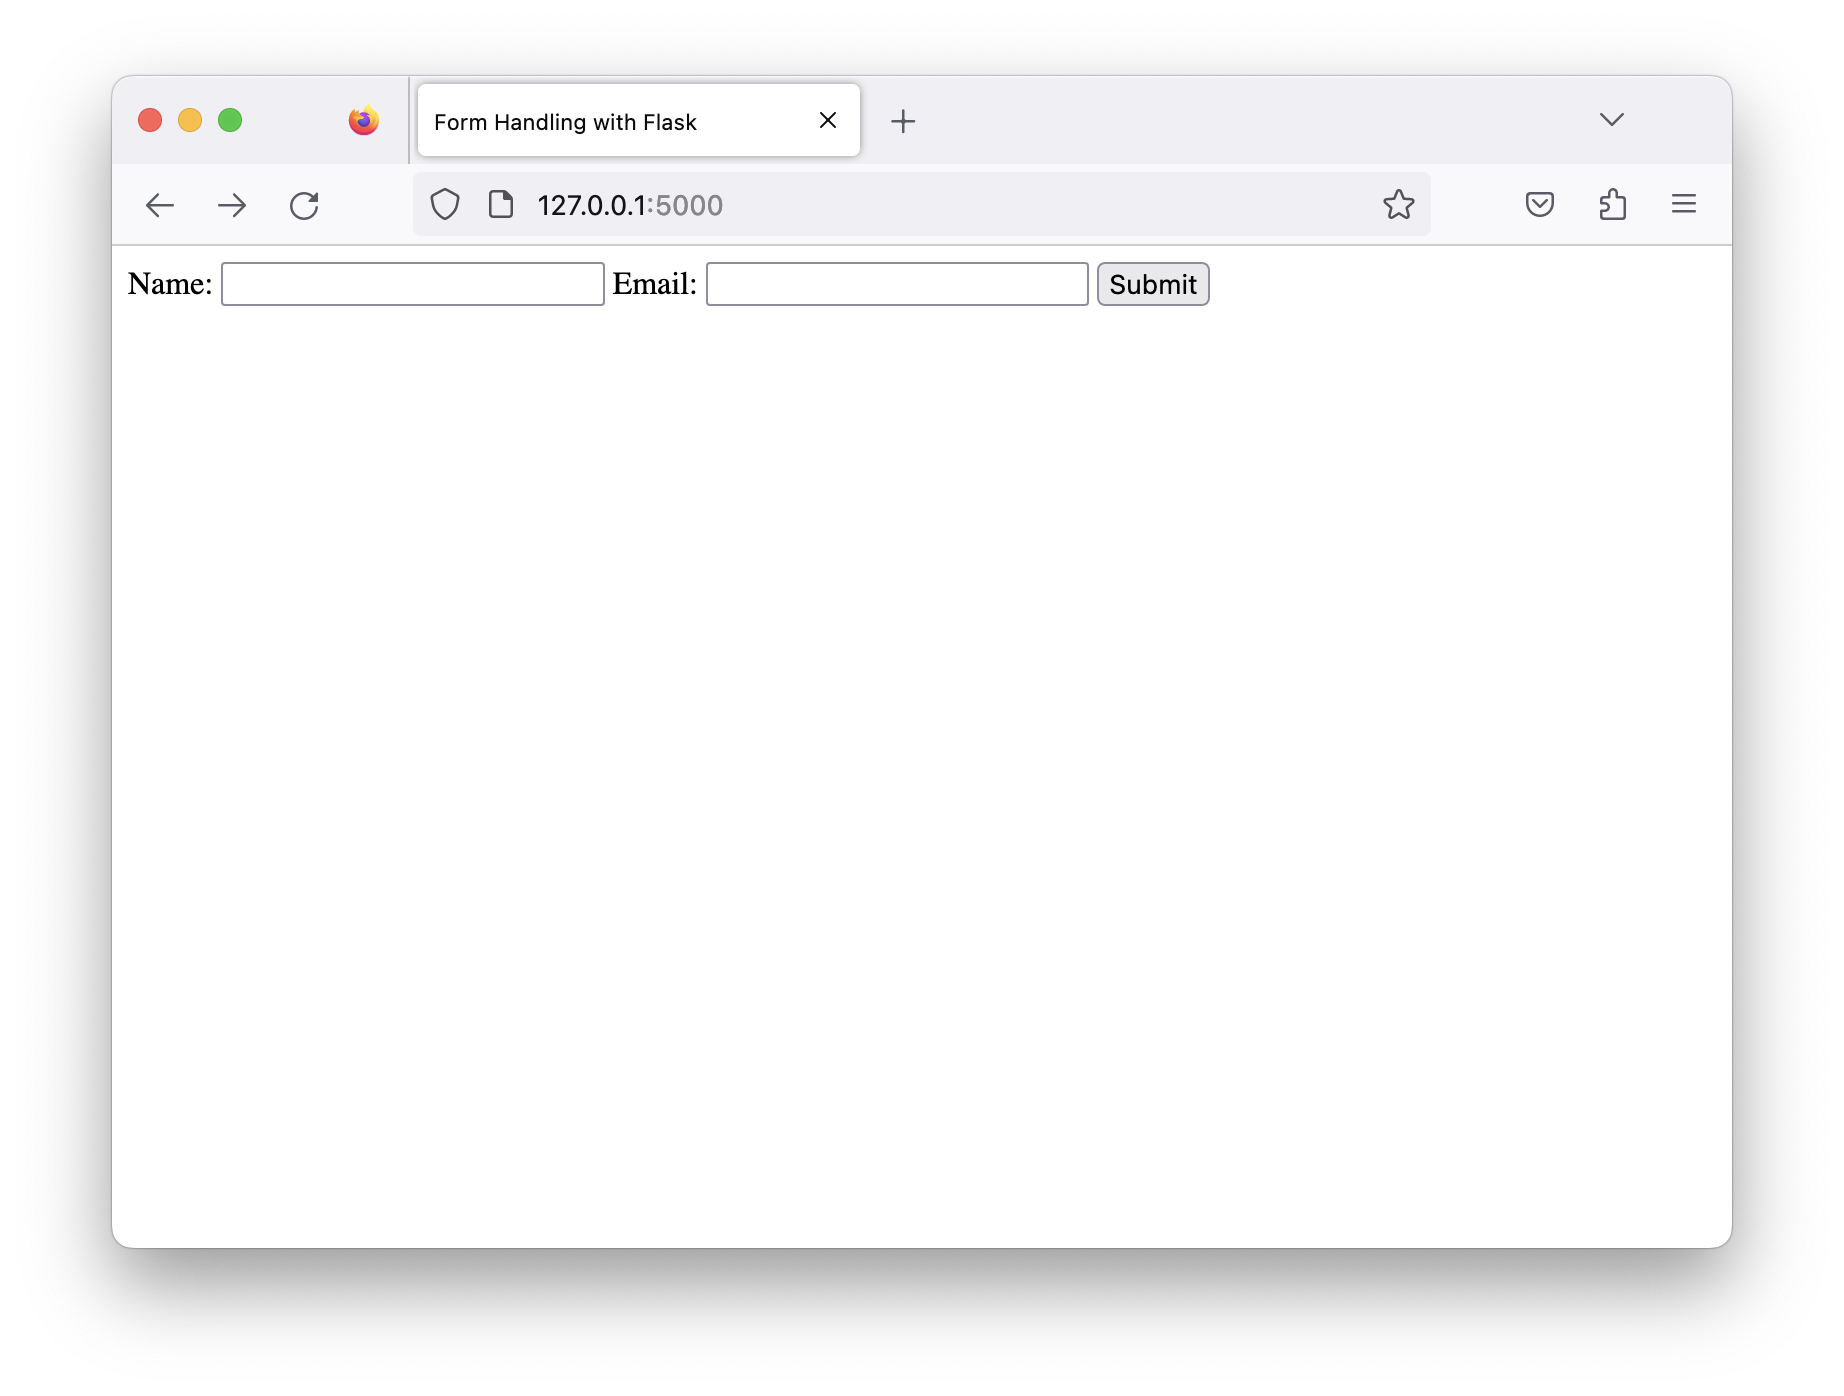 HTML form
2. Retrieving Form Data in Flask
After creating the HTML form, we need to handle the form data on the server-side using Flask. Flask provides a request object that allows us to access the form data. Here’s an example of how to retrieve form data in Flask:
1
2
3
4
5
6
7
8
9
10
11
12
13
14
15
16
17
18
19
20
from flask import Flask, request, render_template

app = Flask(__name__)

@app.route('/', methods=['GET'])
def show_form():
    return render_template('form.html')

@app.route('/process-form', methods=['POST'])
def process_form():
    name = request.form.get('name')
    email = request.form.get('email')

    # Do something with the form data
    # ...

    return 'Form submitted successfully!'

if __name__ == '__main__':
    app.run()
In the above code, we import the Flask, request, and render_template modules from the Flask library. We create a Flask application instance and define two routes: one to show the form and another to process the form data.
The show_form function handles the GET request and renders the form.html template. The template contains the HTML form we created earlier.
The process_form function handles the POST request and
retrieves the values of the form fields using request.form.get(). We assign the values to the name and email variables.
After retrieving the form data, we can perform any necessary processing or validation logic. In this example, we simply return a success message, but you can modify it to suit your needs.
3. Validating and Processing Form Data
Form data validation is crucial to ensure that the data submitted by users is correct and meets the required criteria. Flask provides several validation techniques, including built-in validation functions and third-party libraries like WTForms.
Here’s an example of how to validate and process form data in Flask using built-in validation functions:
1
2
3
4
5
6
7
8
9
10
11
12
13
14
15
16
17
18
19
20
21
22
23
24
25
26
27
from flask import Flask, request, render_template

app = Flask(__name__)

@app.route('/', methods=['GET'])
def show_form():
    return render_template('form.html')

@app.route('/process-form', methods=['POST'])
def process_form():
    name = request.form.get('name')
    email = request.form.get('email')

    if not name or not email:
        return 'Please fill in all the required fields.'

    # Validate email format
    if '@' not in email:
        return 'Invalid email address.'

    # Process the form data
    # ...

    return 'Form submitted successfully!'

if __name__ == '__main__':
    app.run()
In the above code, we first check if both the name and email fields are filled using a simple if condition. If any of the fields are empty, we return an error message asking the user to fill in all the required fields.
Next, we validate the email format by checking if the @ symbol is present in the email address. If it’s not present, we return an error message indicating an invalid email address.
Finally, after performing the necessary validation checks, we can proceed with processing the form data according to our requirements.
FAQs
Q: How can I create a dropdown menu in an HTML form?
A: To create a dropdown menu in an HTML form, you can use the <select> element along with <option> elements. Here’s an example:
1
2
3
4
5
<select id="country" name="country">
  <option value="us">United States</option>
  <option value="ca">Canada</option>
  <option value="uk">United Kingdom</option>
</select>
Q: How can I retrieve form data when the HTTP method is GET instead of POST?
A: When the form is submitted using the GET method, the form data is appended to the URL as query parameters. In Flask, you can use request.args.get() instead of request.form.get() to retrieve the form data.
Q: Are there any third-party libraries available for form validation in Flask?
A: Yes, there are several third-party libraries available for form validation in Flask. One popular library is WTForms, which provides a flexible and powerful way to handle form validation, data conversion, and rendering.
By following the above steps, you can handle form data effectively using Flask. Remember to create an HTML form with the desired fields, retrieve the form data in Flask using the request object, and validate and process the data according to your requirements. Happy coding!