How to Implement Routing and Error Handling in Express
Learn how to implement routing and error handling in Express.js to build robust web applications.

Express.js is a popular web application framework for Node.js that allows developers to build powerful and scalable web applications. One of the key aspects of building web applications is handling routes and errors effectively. In this tutorial, we will learn how to implement routing and error handling in Express.
Prerequisites
Before we begin, make sure you have the following:
- Basic knowledge of JavaScript
- Node.js and npm (Node Package Manager) installed on your machine
- Familiarity with Express.js (if not, you can refer to the official Express.js documentation)
Setting Up a Basic Express Application
Let’s start by setting up a basic Express application. Open your terminal or command prompt and follow these steps:
Create a new directory for your project:
1
mkdir express-routing-error-handling
Navigate to the project directory:
1
cd express-routing-error-handling
Initialize a new Node.js project and install Express:
1
2
npm init -y
npm install express
Create an
index.jsfile and open it in your preferred code editor.Import Express and create an instance of the Express application:
1
2
const express = require("express");
const app = express();
Set up a basic route and start the server:
1
2
3
4
5
6
7
app.get("/", (req, res) => {
  res.send("Hello, Express!");
});

app.listen(3000, () => {
  console.log("Server is running on port 3000");
});
Save the file and go back to your terminal.
Start the Express server:
1
node index.js
Open your browser and visit
http://localhost:3000. You should see the message “Hello, Express!” displayed in your browser.
Congratulations! You have set up a basic Express application. Now let’s move on to implementing routing and error handling.
Implementing Routing
Routing in Express refers to how an application’s endpoints (URLs) respond to client requests. Express provides a simple and intuitive way to define routes using the app.get(), app.post(), app.put(), and app.delete() methods.
Basic Route Handling
Let’s add a couple of routes to our Express application. Modify the index.js file as follows:
1
2
3
4
5
6
7
app.get("/", (req, res) => {
res.send("Hello, Express!");
});
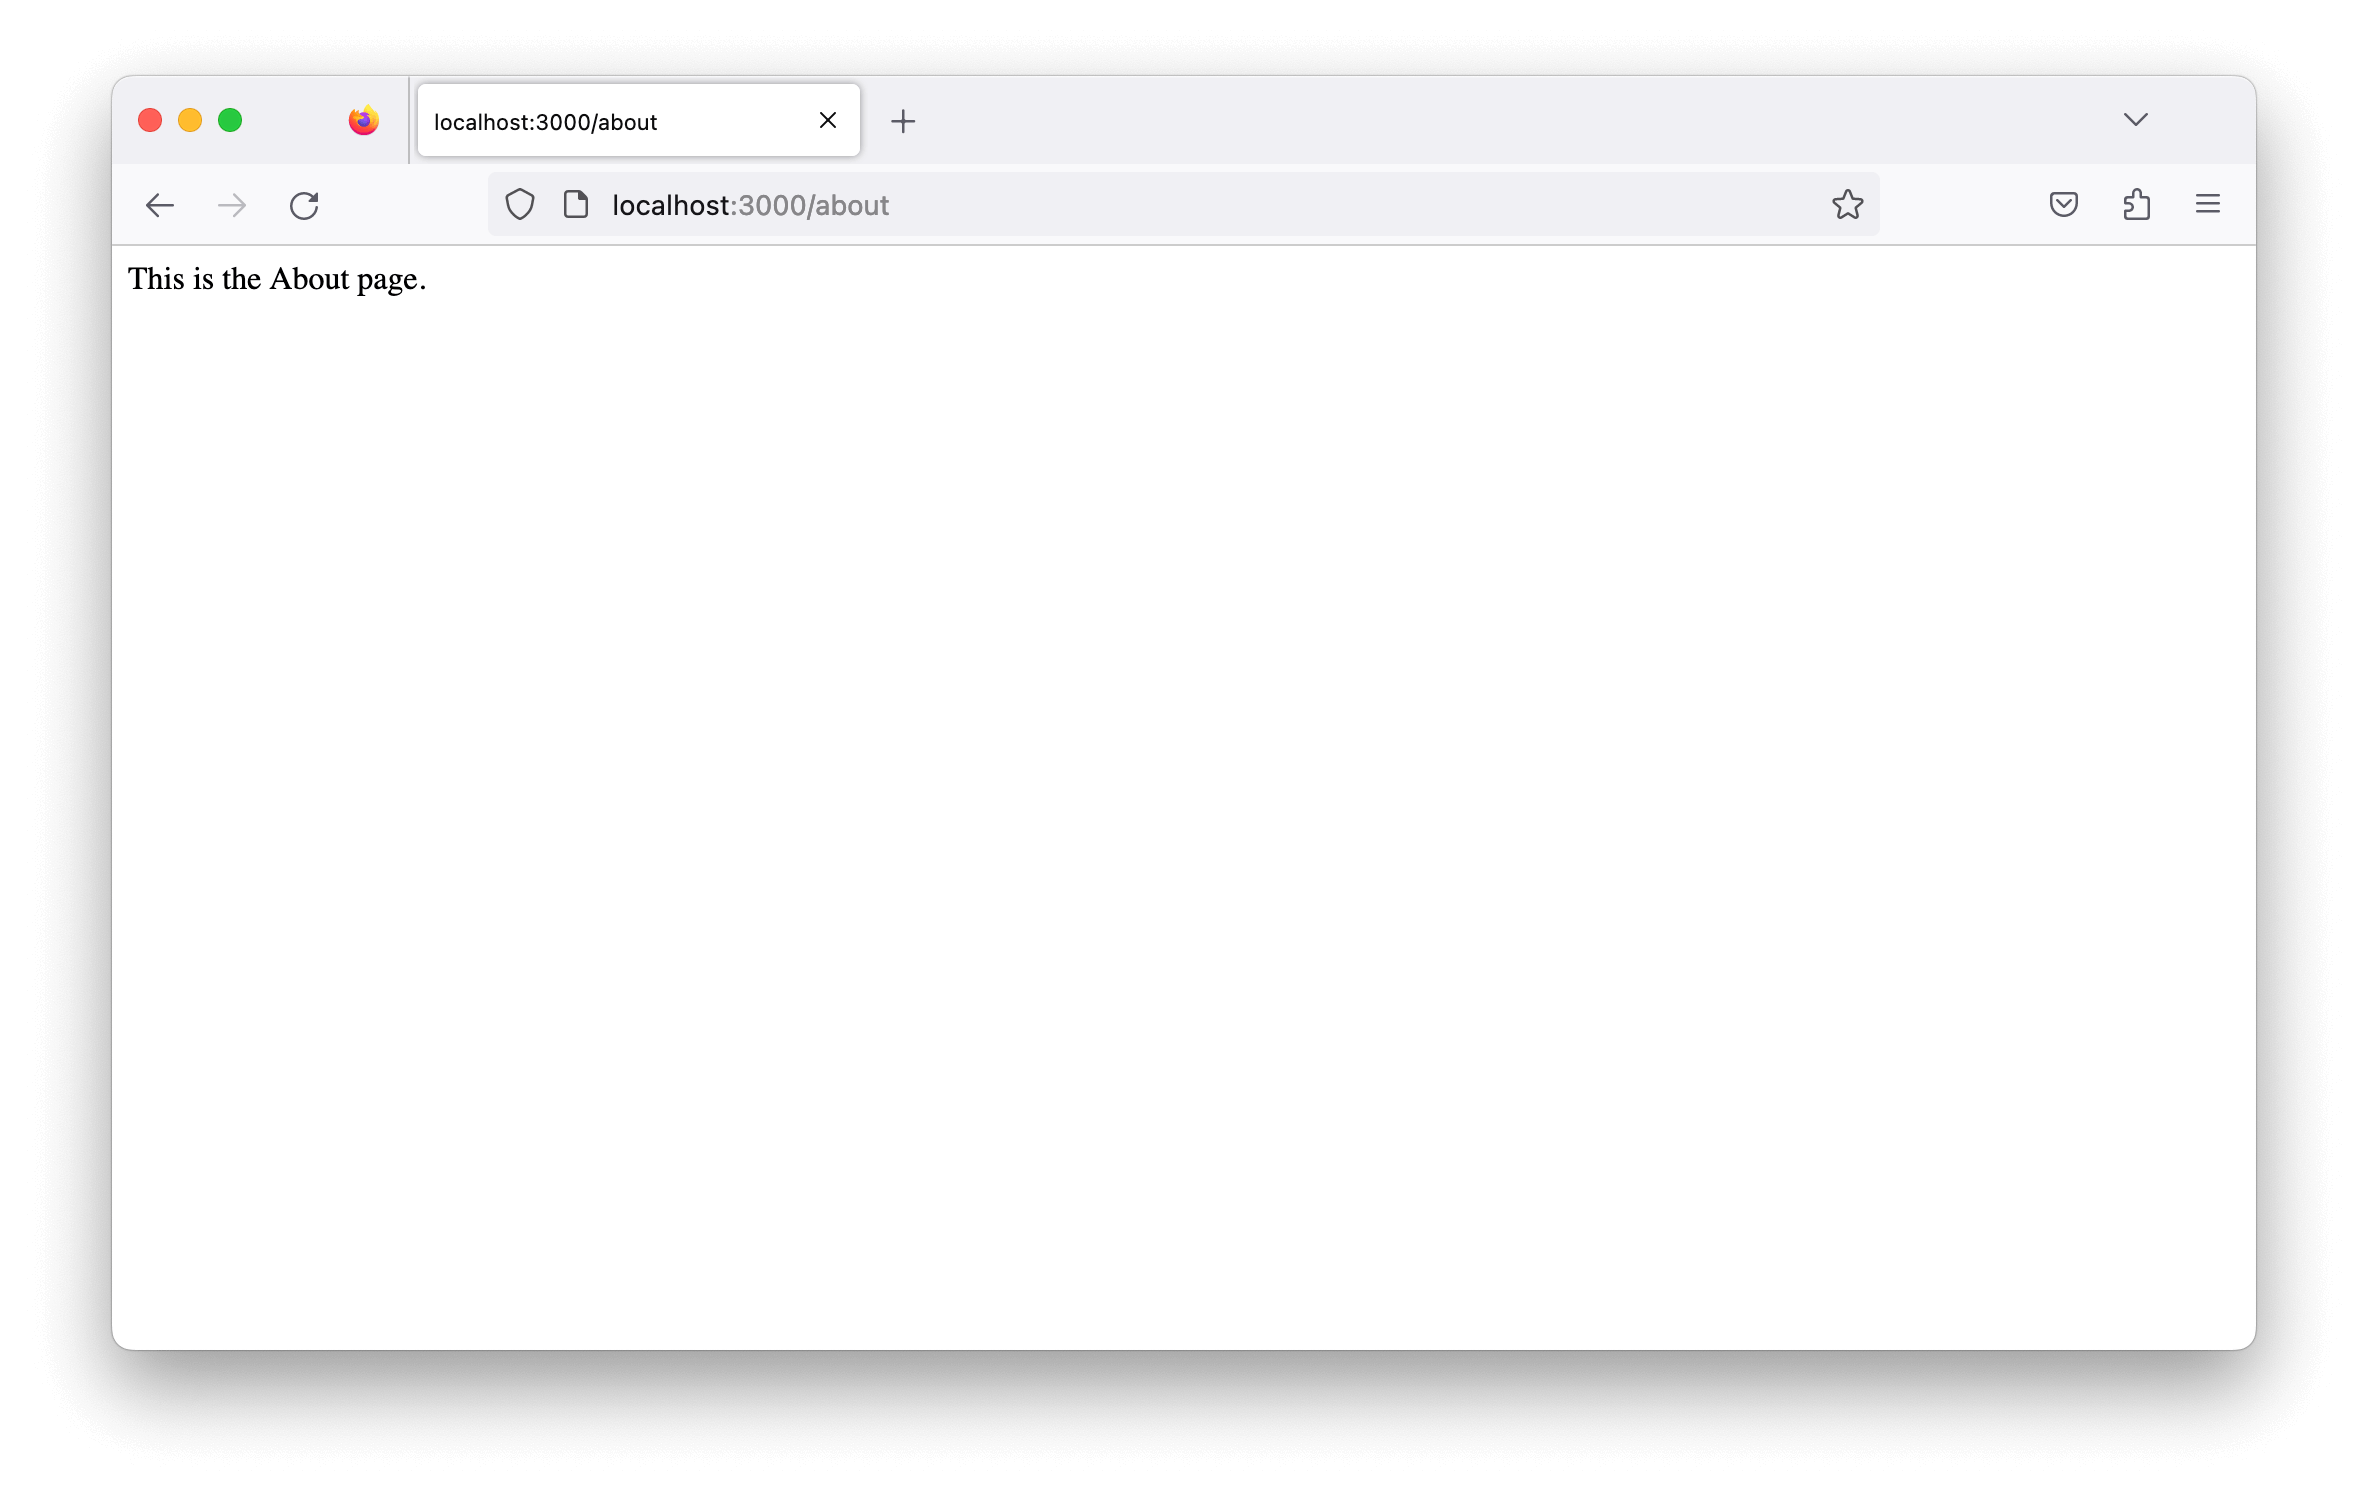
app.get("/about", (req, res) => {
res.send("This is the About page.");
});
Save the file and restart the Express server (node index.js).
Now, if you visit http://localhost:3000/about, you will see the message “This is the About page.” displayed in your browser. The /about route handler is responsible for handling requests to the About page.
Route Parameters
Route parameters allow us to capture dynamic values from the URL. We can define route parameters by prefixing a colon (:) before the parameter name. Let’s add a route with a parameter to our application:
1
2
3
4
app.get("/users/:id", (req, res) => {
  const userId = req.params.id;
  res.send(`User ID: ${userId}`);
});
In this example, the :id in the route path is a parameter that can be accessed using req.params.id. When you visit a URL like http://localhost:3000/users/123, the route handler will extract the value 123 from the URL and display it as “User ID: 123”.

Route Handlers
Route handlers are functions that are executed when a route is matched. They take in the req (request) and res (response) objects as arguments. We can perform various operations in the route handler, such as querying a database, rendering a view, or sending a response to the client.
Let’s create a route handler that fetches a list of users from a database and sends it as a JSON response:
1
2
3
4
5
6
7
8
9
10
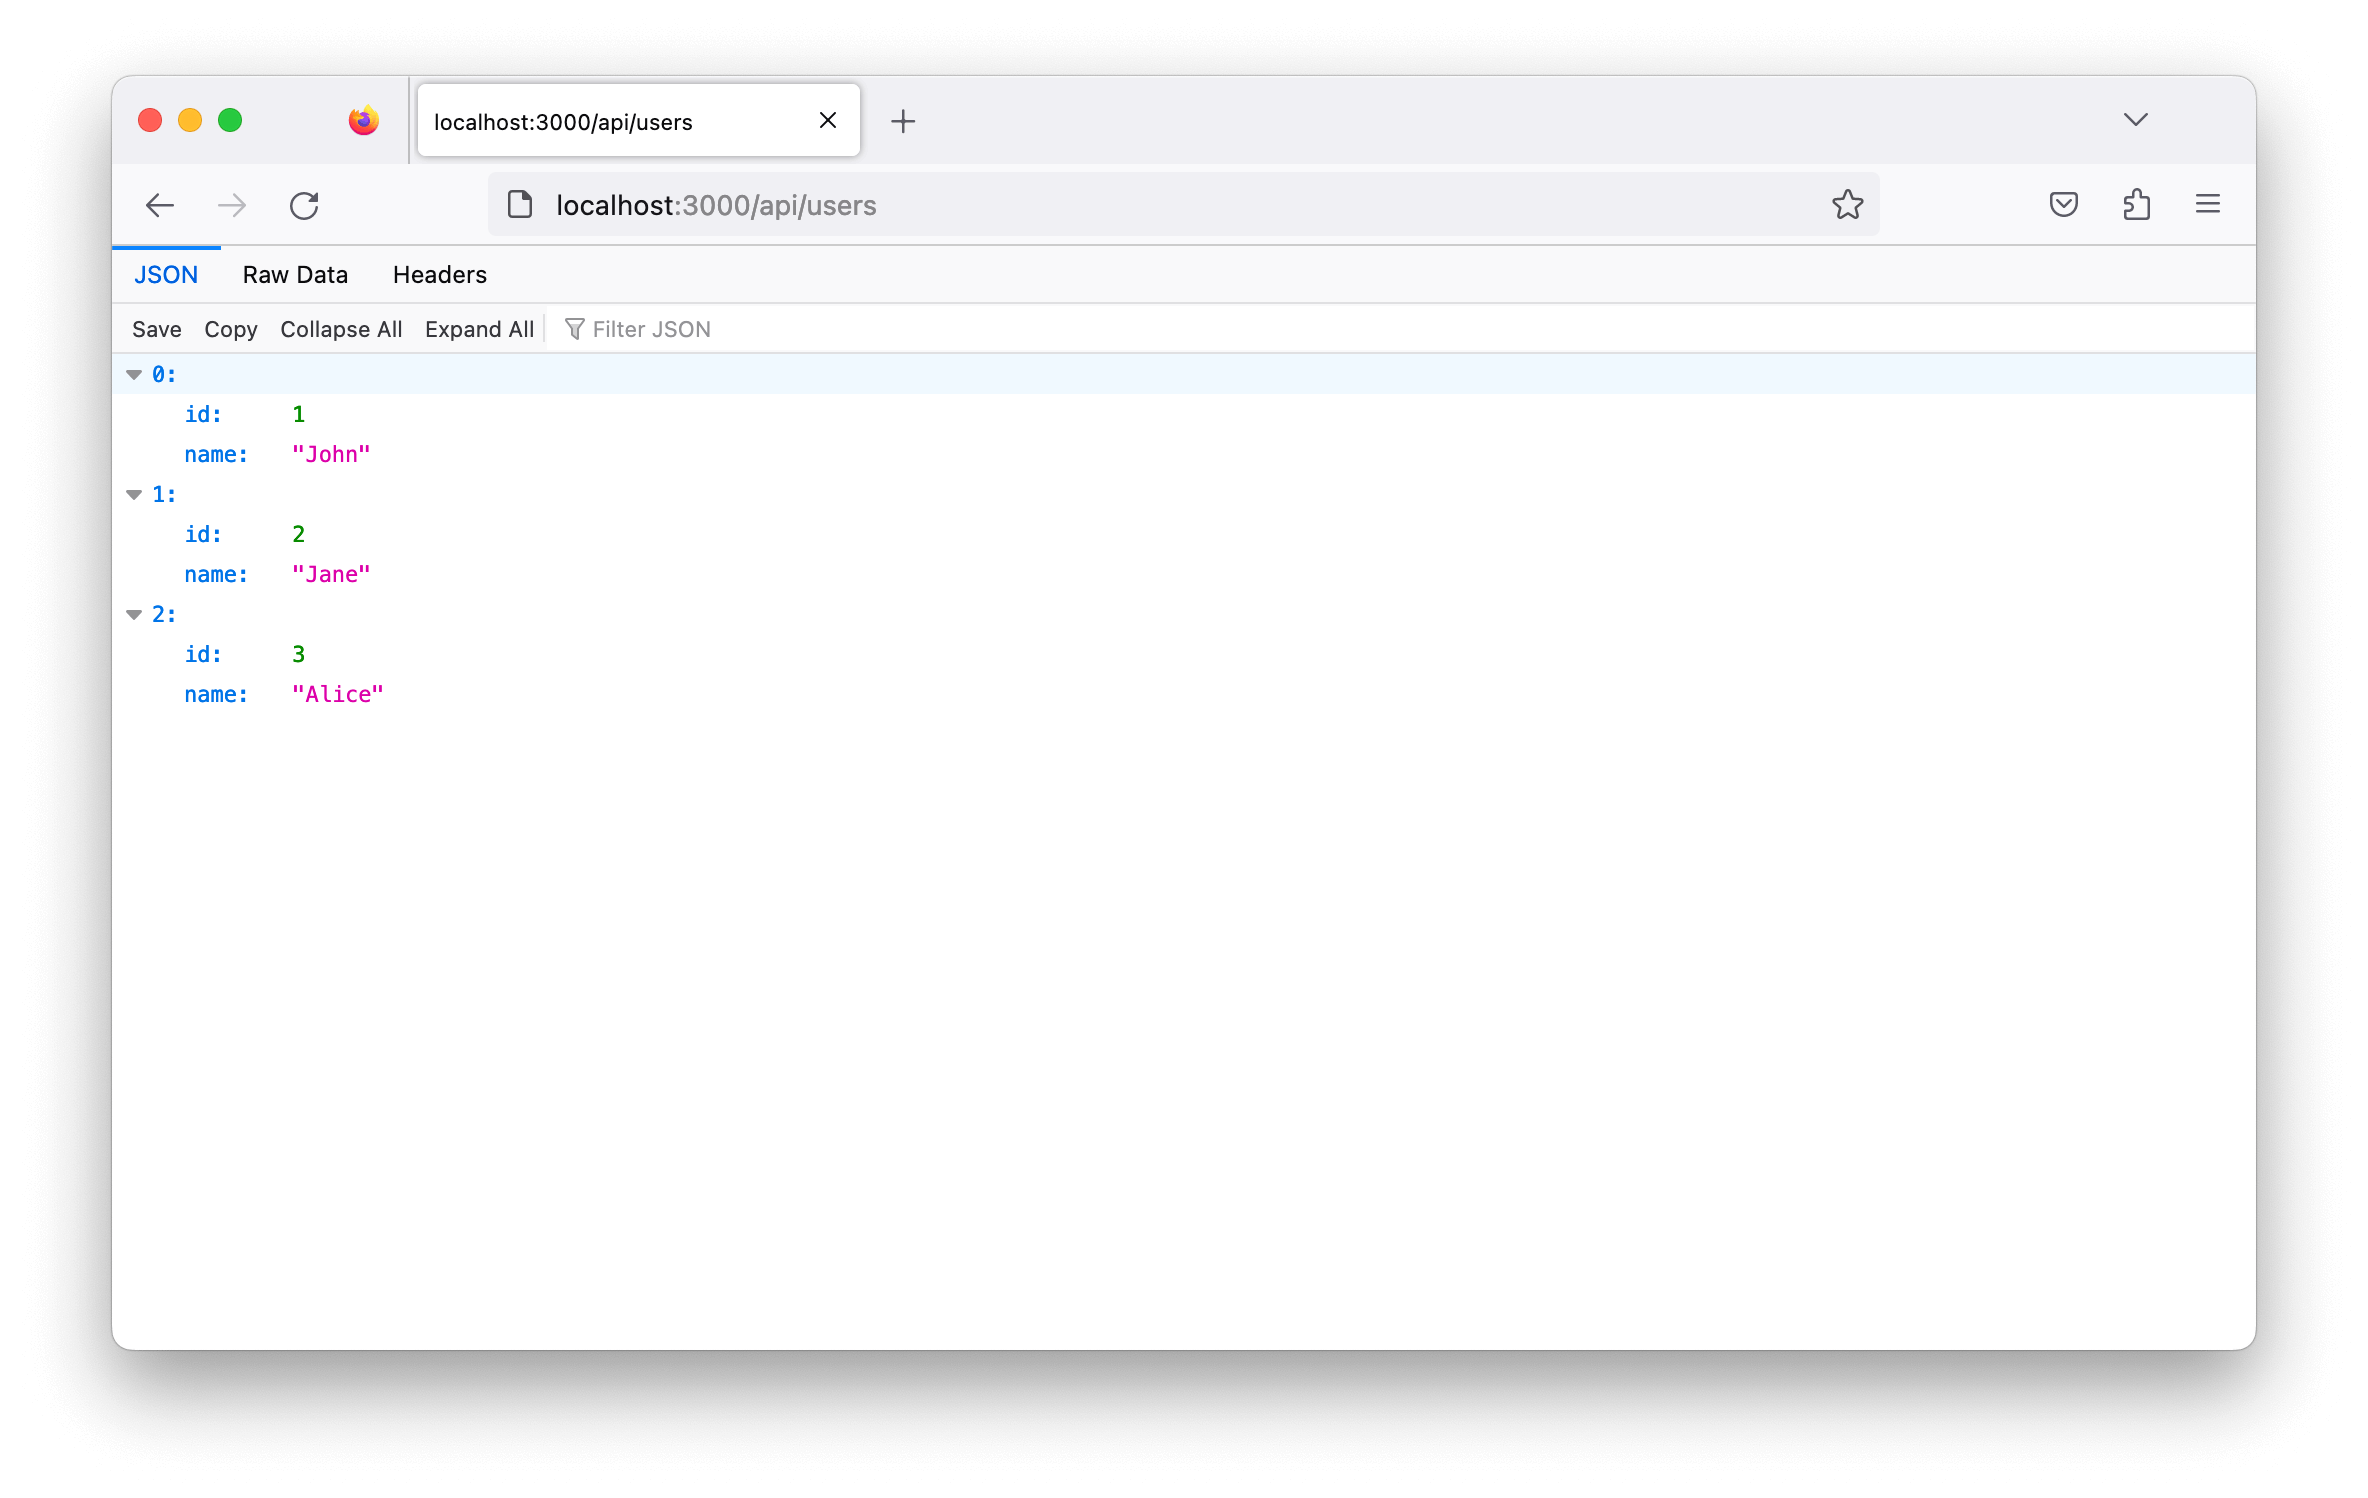
app.get("/api/users", (req, res) => {
// Query the database and fetch the users
const users = [
{ id: 1, name: "John" },
{ id: 2, name: "Jane" },
{ id: 3, name: "Alice" },
];
res.json(users);
});
When you visit http://localhost:3000/api/users, you will receive a JSON response containing the list of users.
Implementing Error Handling
Error handling is crucial in any application to gracefully handle unexpected errors and provide appropriate responses to the client. Express provides a built-in error handling mechanism that allows us to define error handlers and middleware functions to handle different types of errors.
Basic Error Handling
To implement basic error handling, we can define an error-handling middleware function with four parameters (err, req, res, and next). If an error occurs in any previous middleware or route handler, the error will be passed to this function for handling.
Let’s add a basic error handler to our application:
1
2
3
4
app.use((err, req, res, next) => {
  console.error(err);
  res.status(500).send("Internal Server Error");
});
In this example, any unhandled errors will be logged to the console, and the server will respond with a status code of 500 (Internal Server Error) and the message “Internal Server Error”.
Custom Error Handling
Sometimes, we may encounter specific types of errors that require custom handling. We can create custom error classes and use them in our routes or middleware.
Here’s an example of a custom error class for handling authentication errors:
1
2
3
4
5
6
7
class AuthenticationError extends Error {
  constructor(message) {
    super(message);
    this.name = "AuthenticationError";
    this.statusCode = 401;
  }
}
We can then throw this error from our routes or middleware:
1
2
3
4
5
6
7
app.get("/protected", (req, res, next) => {
  if (!req.user) {
    throw new AuthenticationError("Unauthorized");
  }

  res.send("Protected Route");
});
If the req.user is not available (indicating the user is not authenticated), an AuthenticationError will be thrown. We can define a custom error handler specifically for this type of error:
1
2
3
4
5
6
7
8
app.use((err, req, res, next) => {
  if (err instanceof AuthenticationError) {
    res.status(err.statusCode).send("Authentication Error: " + err.message);
  } else {
    console.error(err);
    res.status(500).send("Internal Server Error");
  }
});
In this example, we check if the error is an instance of AuthenticationError and provide a specific response accordingly.
Exercise
Now that you have learned how to implement routing and error handling in Express, it’s time to test your knowledge. Here’s a simple exercise for you:
- Create a new Express application.
- Implement three routes:
/,/products, and/users/:id. - For each route, define a route handler that sends a custom message of your choice as the response.
- Add basic error handling middleware that logs the error to the console and sends a generic error message to the client.
- Test your application by visiting each route and verifying the responses.
Feel free to explore additional functionalities and experiment with different error handling scenarios.
Conclusion
In this tutorial, you have learned how to implement routing and error handling in Express.js. Routing allows you to define how your application responds to client requests, and error handling ensures that your application gracefully handles errors and provides meaningful responses to the clients. By following the steps and examples provided, you can now build robust web applications using Express.
Remember to refer to the official Express.js documentation for more advanced features and in-depth explanations. Happy coding!